
Product images are for informational purposes only and may vary slightly depending on the batch and supplier. Product specifications and prices may be subject to change without notice. We do our best to provide accurate and complete product specifications, but they may not be completely accurate. If you encounter any such situation, please let us know.
The product is intended for specialists and requires qualified and authorized personnel. The product does not include assembly/use instructions . Putting the product into operation by unqualified persons leads to the loss of the warranty according to the Terms and Conditions on the site.
The specified technical parameters (current, power, etc.) represent maximum allowable values under ideal operating conditions. For safe use and optimal lifespan, it is recommended to operate the product continuously at no more than 50% of the specified maximum values.
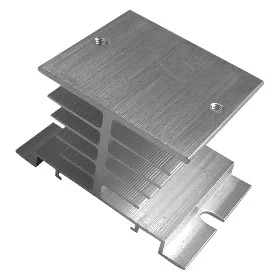
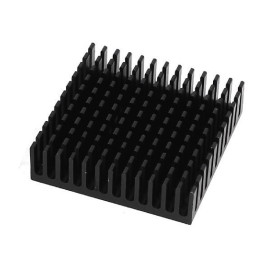
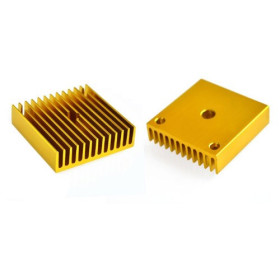
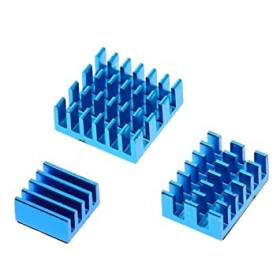
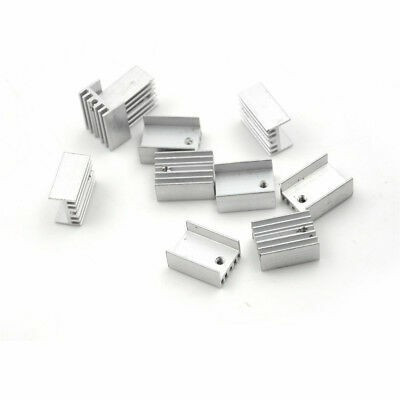
TO220 Transistor Heatsink, Aluminium, 20x15x10mm
Aluminium heatsink for efficient heat dissipation from TO220 transistors, helps maintain operating temperature and increases assembly reliability. Compact dimensions 20 x 15 x 10 mm, lightweight and sturdy construction, surface optimised for thermal transfer, suitable for power, supply and driver applications.
Buying this product earns you 0.24 RON in loyalty points.

International fast shipping within EU. Free Shipping for orders above 100 EUR in most EU countries.

We ship from our stock within 24H

You earn points with every order, worth 5%.
The aluminium heatsink for TO220 package components takes away the heat produced by transistors, MOSFETs, voltage regulators and other circuits with a metal tab and releases it into the air through its fins. It is suitable for linear power supplies, 7805 or LM317 regulators, small audio amplifiers and switching stages with low or medium dissipated power.
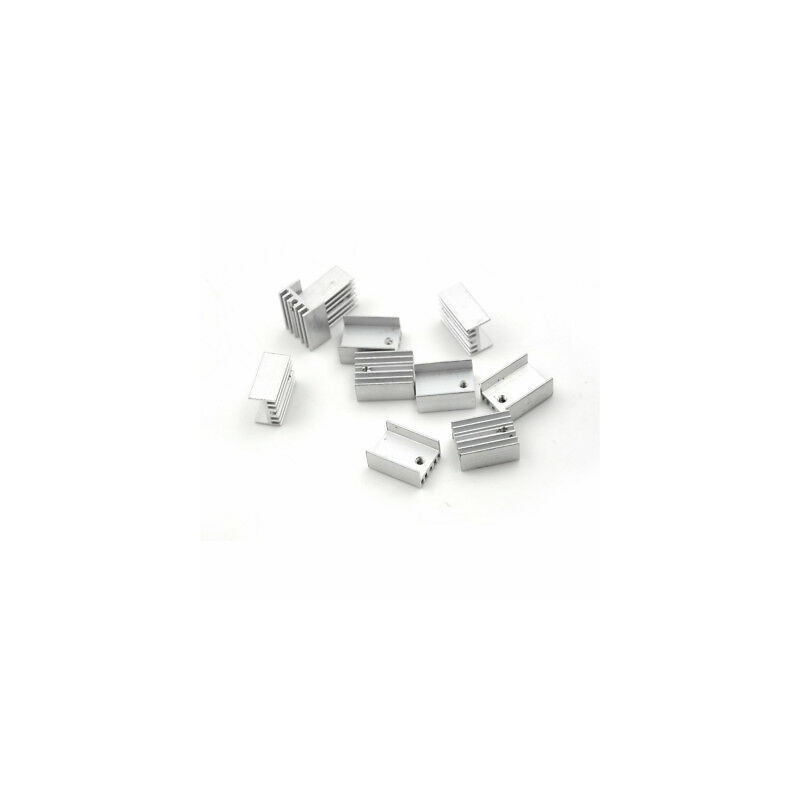
The heatsink measures 20 x 15 x 10 mm and is made of aluminium, a metal that conducts heat well. The contact surface sits on the tab of the component, and the fins increase the heat exchange surface with the surrounding air. The mounting is purely mechanical and thermal, with no electrical connections.
The main features include the aluminium body, the cooling fins, the flat contact surface for the TO220 tab and the screw mounting hole. The heatsink is a passive part and does not require a power supply.
Specifications:
Material: Aluminium
Compatible package: TO220
Type: Passive finned heatsink
Mounting: Screw through the heatsink hole
Dimensions: 20 x 15 x 10 mm
Layout:
| Element | Function |
|---|---|
| Contact surface | Sits on the metal tab of the TO220 package and takes the heat from the component. |
| Mounting hole | Allows fixing the heatsink to the component with a screw that also passes through the hole of the TO220 tab. |
| Fins | Increase the heat exchange surface and release the heat to the surrounding air. |
Usage:
Disconnect the assembly from the power supply and wait for the parts to cool down before mounting the heatsink.
Clean the contact surface of the heatsink and the tab of the component from dust and grease.
Apply a very thin layer of thermal paste on the tab of the component, because a thick layer reduces the heat transfer.
Place the heatsink on the component, align the hole of the heatsink with the hole of the tab and fix it with a screw of suitable diameter, tightening firmly but without excessive force.
Caution, on many TO220 packages the metal tab is electrically connected to a terminal of the component, and the heatsink takes the same potential. If the tab must be isolated, place an insulating foil between it and the heatsink and use an insulating bushing for the screw.
Check that the heatsink does not touch other metal parts or circuit tracks, to avoid short circuits.
Mount the component so that the fins are vertical, so the warm air can rise freely between them.
Do not touch the heatsink during operation and immediately after switching off, as it may be hot. After power-up, check the case temperature with a contact thermometer or a thermal camera.
For high dissipated power, choose a larger heatsink or add a fan.
- Dimensions
- 20 x 15 x 10 mm
- Material
- Aluminium
- Type
- Passive finned heatsink
- Mounting
- Screw through the heatsink hole
- Package
- TO220
Produs destinat utilizarii in proiecte electronice, automatizari, prototipare, educatie si cercetare.
Produsul trebuie utilizat numai conform specificatiilor tehnice mentionate in descriere si/sau in documentatia produsului.
Avertismente generale de siguranta:
Nu utilizati produsul la tensiuni, curenti sau temperaturi peste valorile specificate.
Montajul si conectarea trebuie realizate de persoane cu cunostinte tehnice minime in domeniul electric/electronic.
Evitati scurtcircuitele, inversarea polaritatii si conectarea gresita a alimentarii.
Nu lasati produsul alimentat nesupravegheat in timpul testelor.
Produsul nu este jucarie si nu este destinat copiilor.
Pentru modulele electronice, se recomanda utilizarea in carcase, panouri sau montaje protejate, dupa caz.
Identificare produs:
Denumirea produsului, codul/SKU-ul si caracteristicile tehnice sunt mentionate in pagina produsului si/sau pe eticheta ambalajului.
Producator / Importator / Distribuitor:
Sigmanortec S.R.L.
Calea Bucuresti nr. 9, Targu Jiu, Gorj, Romania
E-mail: [email protected]
Website: www.sigmanortec.ro
Persoana responsabila in UE:
Sigmanortec S.R.L.
Calea Bucuresti nr. 9, Targu Jiu, Gorj, Romania
E-mail: [email protected]
Documentatie si siguranta:
Pentru informatii suplimentare, fise tehnice, declaratii de conformitate sau instructiuni, ne puteti contacta la [email protected].

This tutorial does not use any development board or program, because the heatsink is a passive aluminium part. The 20 x 15 x 10 mm heatsink is mounted on transistors or integrated circuits in the TO220 package to dissipate the heat produced during operation better.
You use it in linear power supplies, voltage regulators with 7805 or LM317, small audio amplifiers and switching stages with MOSFETs.
How it works:
A transistor or a regulator converts part of the electrical energy into heat. In the TO220 package the cooling surface is small, so the junction temperature rises quickly. The heatsink increases the heat exchange surface with the air through its fins, and aluminium conducts heat well. The heat passes from the component case into the heatsink, then it is released to the surrounding air.
The power dissipated by a linear regulator is calculated with the formula P = (Vin - Vout) x I. For example, a regulator that brings 12 V down to 5 V and supplies a 0.5 A load dissipates P = (12 - 5) x 0.5 = 3.5 W.
The junction temperature results from Tj = Ta + P x (Rjc + Rcs + Rsa). Ta is the air temperature, Rjc is the junction-to-case thermal resistance, Rcs is the case-to-heatsink thermal resistance, and Rsa is the heatsink-to-air thermal resistance. The Rjc value and the maximum junction temperature are taken from the datasheet of the component you are cooling. The lower Rsa is, the cooler the component stays.
A small heatsink like this one helps at low and medium powers. For high powers you need a larger heatsink or a fan.
Connection:
The heatsink has no pins and is not electrically connected to the circuit, but only mechanically and thermally to the component you are cooling. The table below shows how the elements are linked together. Note that in many TO220 packages the metal tab is electrically connected to one terminal of the component (for example the drain of a MOSFET or the output of a regulator), so the heatsink will have the same potential.
| Product pin | Connects to | Role |
|---|---|---|
| Heatsink contact surface | Metal tab of the TO220 case | Takes the heat from the component |
| Heatsink mounting hole | Screw that also passes through the hole of the TO220 tab | Fixes the heatsink firmly to the component |
| Fins | Surrounding air | Releases the heat into the air |
Configuration:
The heatsink has no buttons, potentiometers, jumpers or LEDs, so there are no electrical adjustments. The only preparation is the mechanical mounting, described in the steps below.
Disconnect the assembly from the power supply and wait for the parts to cool down, then clean the heatsink contact surface and the component tab of dust and grease.
If the component tab must remain electrically isolated from the heatsink, place an insulating mica or silicone foil between them, and an insulating bushing on the screw. If insulation is not needed, go to the next step.
Apply a very thin layer of thermal paste on the component tab. The paste fills the tiny irregularities between the two surfaces and lowers Rcs. A thick layer has the opposite effect, so do not overdo the quantity.
Place the heatsink on the component, align the heatsink hole with the tab hole and fix it with a screw of suitable diameter. Tighten firmly, but without excessive force, so that you do not deform the tab or the heatsink.
Check that the heatsink does not touch other metal parts or the circuit tracks. If it does, move it away or insulate it, because it may short-circuit the parts.
Mount the component on the board so that the fins are vertical, so that the warm air can rise freely between them.
Usage example:
You have a 7805 regulator that supplies a circuit at 5 V and 0.5 A from a 12 V source. The dissipated power is 3.5 W, as in the calculation above. Without a heatsink, the case heats up strongly and the regulator may enter thermal protection.
Mount the heatsink on the regulator with thermal paste and a screw, power the circuit and let it work for 10 - 15 minutes at maximum load. Then check the case temperature with a contact thermometer or with a thermal camera.
If the temperature stays below the limit in the regulator datasheet, with a safety margin, the heatsink is sufficient. If it is too high, reduce the voltage drop (for example supply from 9 V instead of 12 V), reduce the current or move to a larger heatsink or to fan cooling.
Common problems:
The component heats up just as it did before mounting. The usual cause is a poor thermal contact, for example a loosely tightened screw, dirty surfaces or missing thermal paste. Remove it, clean the surfaces, apply the paste and tighten again.
The circuit behaves strangely or short-circuits after mounting the heatsink. The component tab is electrically connected to a terminal, and the heatsink touches another metal part or a track. Insulate the tab with foil and an insulating bushing, or move the heatsink so that it does not touch anything.
The heatsink moves or comes loose. The screw is not tightened enough or does not match the hole. Choose a screw with the right diameter and tighten it without forcing the thread.
The regulator still enters thermal protection. The dissipated power is higher than a heatsink of this size can evacuate. Reduce the difference between the input and output voltage or the load current, or use a larger heatsink.
Limitations and tips:
The heatsink measures 20 x 15 x 10 mm and is intended for TO220 packages. Being small, it is suitable for low and medium dissipated powers. For high powers choose a larger heatsink or add a fan. The degree of cooling also depends on air circulation, so in a closed case without ventilation the effect is smaller.
Do not touch the heatsink during operation and immediately after switching off, because it may be hot. If the component tab is at dangerous voltage, disconnect the assembly from the power supply before any intervention and properly insulate the heatsink.