
Product images are for informational purposes only and may vary slightly depending on the batch and supplier. Product specifications and prices may be subject to change without notice. We do our best to provide accurate and complete product specifications, but they may not be completely accurate. If you encounter any such situation, please let us know.
The product is intended for specialists and requires qualified and authorized personnel. The product does not include assembly/use instructions . Putting the product into operation by unqualified persons leads to the loss of the warranty according to the Terms and Conditions on the site.
The specified technical parameters (current, power, etc.) represent maximum allowable values under ideal operating conditions. For safe use and optimal lifespan, it is recommended to operate the product continuously at no more than 50% of the specified maximum values.
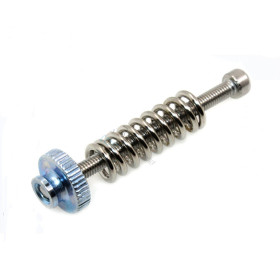
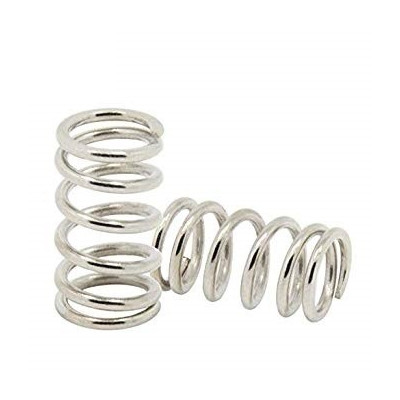
Compression spring for hotbed, adjustable heated bed, 3D printer, 1.2 x 9.2 x 15 mm
Hotbed spring based on Arc ensures uniform and stable heating of the 3D printer bed for better adhesion and reduced warping. Compatible with adjustable heated beds, it has a compact 1.2 x 9.2 x 15 mm format, fast thermal response, simple mounting and secure connection, suitable for intensive use in technical projects.
Shipping by Wednesday 11 November
Buying this product earns you 0.25 RON in loyalty points.

International fast shipping within EU. Free Shipping for orders above 100 EUR in most EU countries.

We ship from our stock within 24H

You earn points with every order, worth 5%.
The hotbed spring is a helical compression spring intended for the adjustable heated bed of 3D printers. It is mounted on each leveling screw, between the bed frame and the heated plate, and keeps the plate pressed against the leveling nuts in any position. It is suitable for leveling the bed relative to the nozzle, for replacing compressed or lost springs, and for 3D printers with a bed adjustable at the corners by screws and nuts.
The spring measures 1.2 x 9.2 x 15 mm. The force with which the plate presses increases as the leveling nut compresses it, which allows each corner of the bed to be raised or lowered by turning the nut. The spring also absorbs the small movements of the bed during printing, and the adjustment remains stable.
It is a passive mechanical part that does not connect electrically. For uniform leveling, the four corners of the bed must have springs that are identical in length and stiffness.
Specifications:
Type: Helical compression spring
Application: Adjustable heated bed for 3D printers
Mounting: On the leveling screw, between the bed frame and the heated plate
Dimensions: 1.2 x 9.2 x 15 mm
Usage:
Turn off the printer, unplug it from the mains and wait for the bed to cool down. Never work on a hot bed, as it may cause burns.
Loosen the leveling nuts at the four corners, lift the bed plate gently and remove the old springs.
Compare the new springs with the old ones. All installed springs must have the same length and the same diameter, and an old spring that is shorter than the new one is compressed and must be replaced.
Place one spring on each leveling screw, between the frame and the bed plate. Check that the spring sits straight, is centered on the screw and does not rest on the edge of the hole.
Refit the leveling nuts and screw them evenly at all corners, until the springs compress slightly and the bed has no play. Count the turns so that you obtain the same adjustment at all corners.
For leveling, pass a sheet of paper between the nozzle and the bed at each corner and at the center. The sheet must pass with slight friction.
If the distance between the nozzle and the bed is too large, turn the nut in the direction that compresses the spring and raises the bed. If the sheet is stuck, turn the nut in the opposite direction. Make corrections of no more than half a turn at a time, then check all corners again.
The adjustment is correct when the friction of the sheet is the same at all points and the first layer prints uniformly over the entire surface.
For stable results, replace all the springs at the same time and check the leveling periodically, especially if you print often at high temperatures.
- Dimensions
- 1.2 x 9.2 x 15 mm
- Type
- Helical compression spring
- Mounting
- On the adjustment screw, between the bed frame and the heated plate
- App
- Adjustable heated bed for 3D printers
Produs destinat utilizarii in proiecte electronice, automatizari, prototipare, educatie si cercetare.
Produsul trebuie utilizat numai conform specificatiilor tehnice mentionate in descriere si/sau in documentatia produsului.
Avertismente generale de siguranta:
Nu utilizati produsul la tensiuni, curenti sau temperaturi peste valorile specificate.
Montajul si conectarea trebuie realizate de persoane cu cunostinte tehnice minime in domeniul electric/electronic.
Evitati scurtcircuitele, inversarea polaritatii si conectarea gresita a alimentarii.
Nu lasati produsul alimentat nesupravegheat in timpul testelor.
Produsul nu este jucarie si nu este destinat copiilor.
Pentru modulele electronice, se recomanda utilizarea in carcase, panouri sau montaje protejate, dupa caz.
Identificare produs:
Denumirea produsului, codul/SKU-ul si caracteristicile tehnice sunt mentionate in pagina produsului si/sau pe eticheta ambalajului.
Producator / Importator / Distribuitor:
Sigmanortec S.R.L.
Calea Bucuresti nr. 9, Targu Jiu, Gorj, Romania
E-mail: [email protected]
Website: www.sigmanortec.ro
Persoana responsabila in UE:
Sigmanortec S.R.L.
Calea Bucuresti nr. 9, Targu Jiu, Gorj, Romania
E-mail: [email protected]
Documentatie si siguranta:
Pentru informatii suplimentare, fise tehnice, declaratii de conformitate sau instructiuni, ne puteti contacta la [email protected].
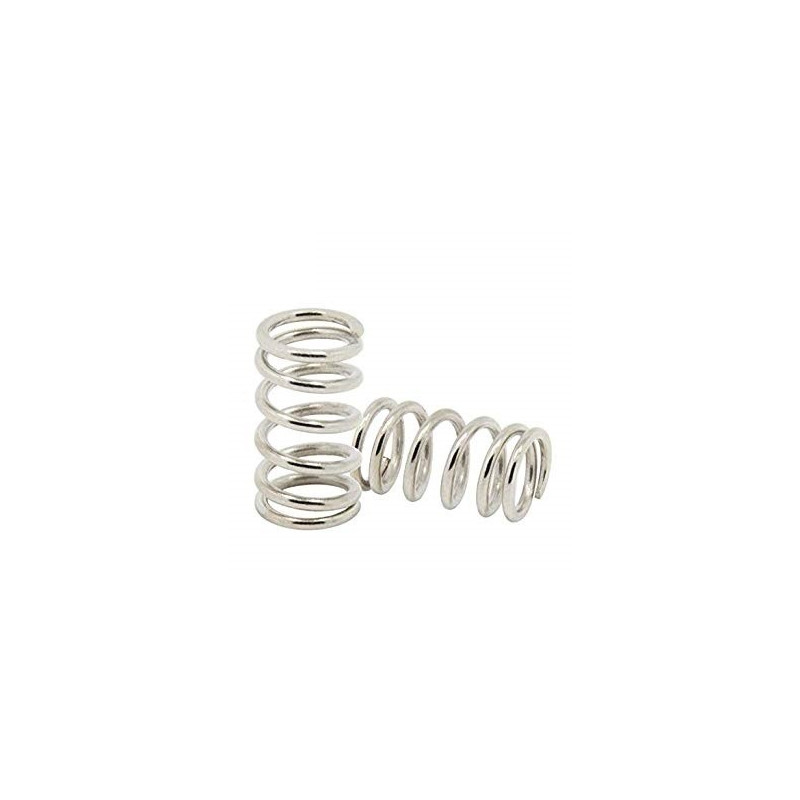
The hotbed spring is a helical compression spring used to mount the adjustable heated bed of 3D printers. It is placed between the bed frame and the heated plate, on each leveling screw, and allows the bed to be leveled relative to the nozzle. The tutorial shows how to install it and how to use it for leveling.
The spring is used on 3D printers with a bed that is adjusted at the corners through leveling screws and nuts. You can also use it as a replacement part when an old spring has compressed or has been lost. The dimensions are 1.2 x 9.2 x 15 mm.
How it works:
The spring is an elastic element. When it is compressed, it presses on the two surfaces between which it sits, with a force that increases as it is compressed further. The relationship is F = k x, where F is the force in newtons, k is the stiffness of the spring in N/mm and x is the distance by which it has been compressed, in mm.
On a heated bed, the leveling nut under the frame compresses the spring. The more the nut is tightened, the more the spring is compressed, the force increases and the corner of the bed rises closer to the nozzle. If you loosen the nut, the spring extends and the corner lowers. For example, a spring compressed by 2 mm presses with half the force of the same spring compressed by 4 mm.
The spring keeps the bed pressed against the nuts in any leveling position. It also absorbs the small movements of the bed during printing, so the leveling stays stable. The four corners must have springs with the same stiffness and the same length, otherwise the leveling will differ from one corner to another.
Connection:
The product does not connect electrically and has no supply voltage or logic levels. It is mounted mechanically, on the bed leveling screw, as shown in the table below.
| Product pin | Connects to | Role |
|---|---|---|
| Arc hotbed (lower end) | The bed frame or the washer on the leveling screw | Seat for the spring |
| Arc hotbed (upper end) | The heated bed plate | Presses the plate onto the leveling nut |
| Leveling screw | Passes through the inside of the spring | Guides the spring and keeps it centered |
| Leveling nut | Threads onto the screw | Compresses or extends the spring |
Configuration:
The product has no buttons, potentiometers, jumpers, switches, LEDs or display, so the only adjustment is the compression of the spring, done with the leveling nut at each corner.
| Action | Effect on the spring | Effect on the bed |
|---|---|---|
| Tighten the nut | The spring compresses more | The corner rises toward the nozzle |
| Loosen the nut | The spring extends | The corner lowers |
Start the leveling by tightening the nuts evenly at all corners, counting the turns. After that, correct each corner by no more than half a turn at a time, so that you do not lose your reference.
Usage example:
The example below describes replacing the springs and leveling the bed of a 3D printer with four leveling points.
Turn off the printer, unplug it and wait for the bed to cool down. Never work on a hot bed, because it can cause burns and it is connected to mains voltage.
Loosen the leveling nuts at the four corners. If the bed is mounted on the old springs, gently lift the plate and remove the springs.
Compare the new springs with the old ones. All four must have the same length and the same diameter. If an old spring is shorter than the new one, it has compressed and must be replaced.
Place one spring on each leveling screw, between the frame and the bed plate. Check that the spring sits straight and does not rest on the edge of the hole.
Put the leveling nuts back on and tighten them evenly at all corners, until the springs compress slightly and the bed stops without play. Count the turns so that you get the same leveling at all corners.
Turn on the printer and move the nozzle to the four corners, then to the center. At each point, pass a sheet of paper between the nozzle and the bed. The sheet must move with slight friction.
If the distance is too large, turn the nut in the direction that compresses the spring, which raises the bed. If the sheet is stuck, turn the nut in the opposite direction, which lowers the bed. Make small corrections, of no more than half a turn, then check all the corners again.
Repeat the measurement at all four corners until the friction of the sheet is the same everywhere. The leveling is correct when the first layer prints evenly over the whole surface.
Common problems:
The bed often goes out of level after a few hours of printing. The usual cause is a compressed spring or nuts that have loosened because of vibrations. Replace the worn springs and tighten the nuts again, checking all four corners.
One corner of the bed is higher or lower than the others, even though the nuts are tightened the same way. The cause is a spring with a different length or stiffness. Fit identical springs at all corners.
The spring bunches up to one side and the bed tilts. The cause is a spring that is not centered on the screw or that sits on the edge of the hole. Remove the spring, place it straight again and check that it does not rub against the nut.
The nut can no longer be tightened enough to raise the bed. The cause is a spring that is too short or fully compressed. Check that the spring fits on the screw and replace it with one of the correct length.
Limitations and tips:
The spring is a wear part. After many heating and cooling cycles it may lose its tension, so check the leveling periodically. If you print often at high temperatures, replace all the springs at the same time, not just one.
The spring measures 1.2 x 9.2 x 15 mm, so it is suitable only for screws and frames that have room for these dimensions. Check on your printer before mounting.
After you have mounted the springs, you can add leveling nuts that are easier to turn, or an automatic bed leveling sensor. The sensor measures the distance at several points, while the springs remain the element that holds the bed in place.