
Product images are for informational purposes only and may vary slightly depending on the batch and supplier. Product specifications and prices may be subject to change without notice. We do our best to provide accurate and complete product specifications, but they may not be completely accurate. If you encounter any such situation, please let us know.
The product is intended for specialists and requires qualified and authorized personnel. The product does not include assembly/use instructions . Putting the product into operation by unqualified persons leads to the loss of the warranty according to the Terms and Conditions on the site.
The specified technical parameters (current, power, etc.) represent maximum allowable values under ideal operating conditions. For safe use and optimal lifespan, it is recommended to operate the product continuously at no more than 50% of the specified maximum values.
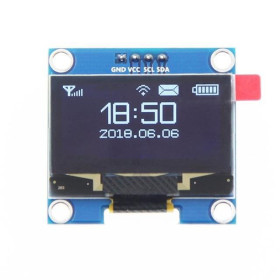
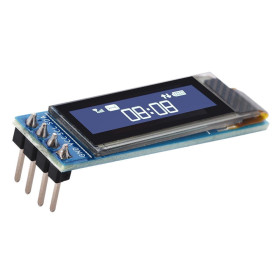
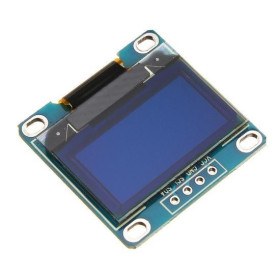
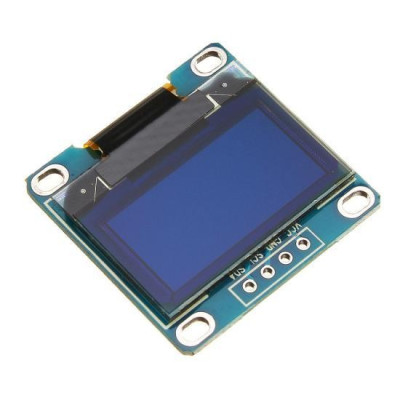
OLED Display 0.96" I2C IIC Blue
Compact 0.96 inch blue OLED screen, ideal for display in Arduino projects and other development boards, connects quickly via I2C with only two data pins, offers 128x64 resolution and visual angle over 160 degrees, has very low consumption and operates at 3V-5V, without backlighting thanks to self-illuminated pixels, with SSD1306 controller.
Shipping by Wednesday 16 September

International fast shipping within EU. Free Shipping for orders above 100 EUR in most EU countries.

We ship from our stock within 24H

You earn points with every order, worth 5%.
OLED Display 0.96 inch Blue color, compatible with Arduino and other development boards. Ideal for small size projects due to the I2C and IIC communication interface.
This display does not require backlighting (it is provided by the pixels)
Specifications:
High resolution: 128X64
Viewing angle: >160 °
Ultra low power consumption: 0.08W
Power supply voltage: DC 3V-5V
Operating temperature: -30 ~70 degree
Dimensions mm: 29 x 27.5 x 4.3
Active display dimensions mm: 26.5 x 14.8
Support: IIC, I2C
Direct I/O level compatibility with 3.3V and 5V microcontrollers (directly compatible, no converters needed)
Chip: SSD1306
IIC communication uses a minimal number of pins.
Pin description:
GND: Ground
VCC: 3.3V or 5V
SCL: IIC clock line
SDA: IIC data line
Instructions:
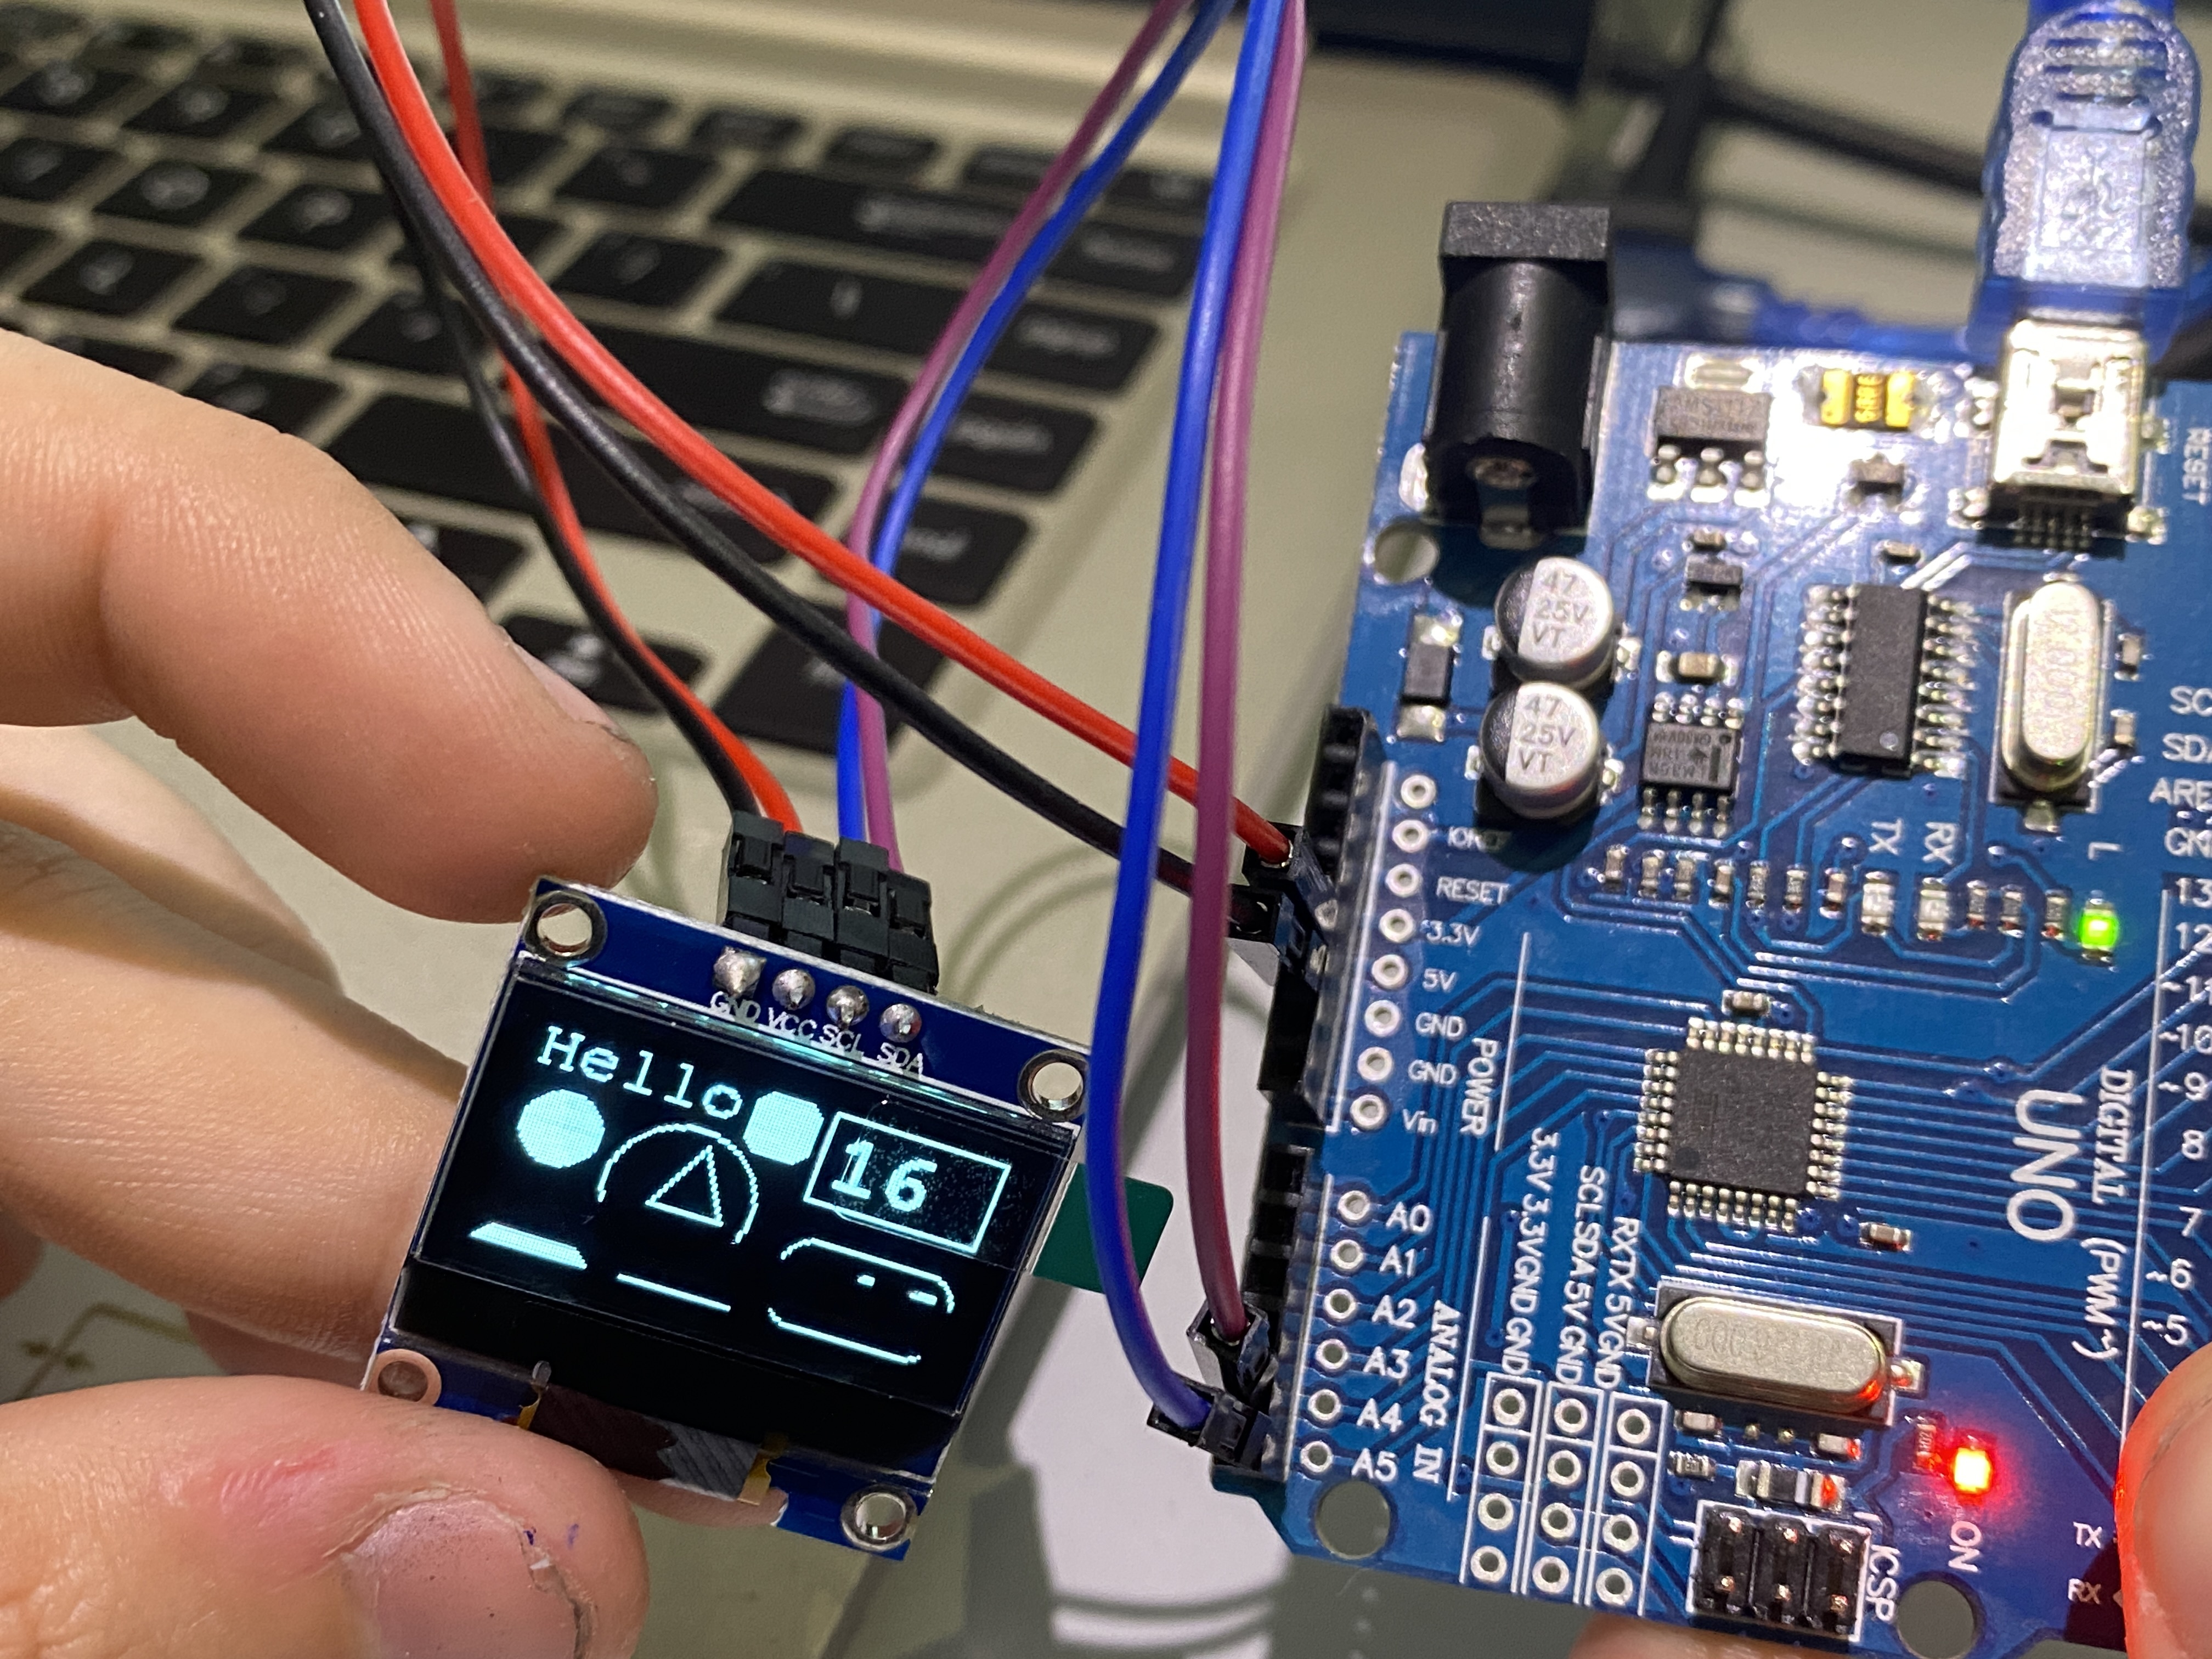
Connection:
GND --------> GND
VCC --------> 3.3V
SCL --------> A5
SDA --------> A4
Delete all libraries that might conflict with the display and install the Adafruit_GFX and Adafruit_SSD1306 libraries (Tools --> Manage Libraries --> Search)
Test code:
#include
#include
Adafruit_SSD1306 display(128, 64); // Create display
#include
#include
int Variable1; // Create a variable to have something dynamic to show on the display
void setup() // Start of setup
{
delay(100); // This delay is needed to let the display initialize
display.begin(SSD1306_SWITCHCAPVCC, 0x3C); // Initialize display with the I2C address of 0x3C
display.clearDisplay(); // Clear the buffer
display.setTextColor(WHITE); // Set color of the text
display.setRotation(0); // Set orientation. Options are 0, 1, 2 or 3
display.setTextWrap(false); // By default, long lines of text automatically “wrap” back to the leftmost column.
// To override this behavior (so text will run off the right side of the display - useful for
// scrolling marquee effects), use setTextWrap(false). The normal wrapping behavior is restored
// with setTextWrap(true).
display.dim(0); // Set brightness (0 is maximum and 1 is a little dim)
} // End of setup
void loop() // Start of loop
{
Variable1++; // Increase variable by 1
if(Variable1 > 150) // If Variable1 is greater than 150
{
Variable1 = 0; // Set Variable1 to 0
}
// Convert Variable1 into a string, so we can change the text alignment to the right:
// It can also be used to add or remove decimal numbers.
char string[10]; // Create a character array of 10 characters
// Convert float to a string:
dtostrf(Variable1, 3, 0, string); // (
display.clearDisplay(); // Clear the display so we can refresh
display.setFont(&FreeMono9pt7b); // Set a custom font
display.setTextSize(0); // Set text size. We are using a custom font so you should always use the text size of 0
// Print text:
display.setCursor(0, 10); // (x,y)
display.println("Hello"); // Text or value to print
// Draw triangle:
display.drawTriangle(40,40, 50,20, 60,40, WHITE); // Draw triangle. X, Y coordinates for three corner points defining the triangle, followed by a color
// Draw filled triangle:
display.fillTriangle(0,63, 15,45, 30,63, WHITE); // Draw filled triangle. X, Y coordinates for three corner points defining the triangle, followed by a color
// Draw line:
display.drawLine(40, 63, 70, 63, WHITE); // Draw line (x0,y0,x1,y1,color)
// Draw circle:
display.drawCircle(47, 36, 20, WHITE); // Draw circle (x,y,radius,color). X and Y are the coordinates for the center point
// Draw a filled circle:
display.fillCircle(12, 27, 10, WHITE); // Draw filled circle (x,y,radius,color). X and Y are the coordinates for the center point
// Draw rounded rectangle and fill:
display.fillRoundRect(58, 0, 18, 18, 5, WHITE); // Draw filled rounded rectangle (x,y,width,height,color)
// It draws from the location to down-right
// Draw rectangle:
display.drawRect(79, 0, 49, 27, WHITE); // Draw rectangle (x,y,width,height,color)
// It draws from the location to down-right
display.setFont(&FreeMonoBold12pt7b); // Set a custom font
// Print variable with left alignment:
display.setCursor(83, 20); // (x,y)
display.println(Variable1); // Text or value to print
// Draw rounded rectangle:
display.drawRoundRect(79, 37, 49, 27, 8, WHITE); // Draw rounded rectangle (x,y,width,height,radius,color)
// It draws from the location to down-right
// Print variable with right alignment:
display.setCursor(83, 57); // (x,y)
display.println(string); // Text or value to print
display.display(); // Print everything we set previously
} // End of loop
Produs destinat utilizarii in proiecte electronice, automatizari, prototipare, educatie si cercetare.
Produsul trebuie utilizat numai conform specificatiilor tehnice mentionate in descriere si/sau in documentatia produsului.
Avertismente generale de siguranta:
Nu utilizati produsul la tensiuni, curenti sau temperaturi peste valorile specificate.
Montajul si conectarea trebuie realizate de persoane cu cunostinte tehnice minime in domeniul electric/electronic.
Evitati scurtcircuitele, inversarea polaritatii si conectarea gresita a alimentarii.
Nu lasati produsul alimentat nesupravegheat in timpul testelor.
Produsul nu este jucarie si nu este destinat copiilor.
Pentru modulele electronice, se recomanda utilizarea in carcase, panouri sau montaje protejate, dupa caz.
Identificare produs:
Denumirea produsului, codul/SKU-ul si caracteristicile tehnice sunt mentionate in pagina produsului si/sau pe eticheta ambalajului.
Producator / Importator / Distribuitor:
Sigmanortec S.R.L.
Calea Bucuresti nr. 9, Targu Jiu, Gorj, Romania
E-mail: [email protected]
Website: www.sigmanortec.ro
Persoana responsabila in UE:
Sigmanortec S.R.L.
Calea Bucuresti nr. 9, Targu Jiu, Gorj, Romania
E-mail: [email protected]
Documentatie si siguranta:
Pentru informatii suplimentare, fise tehnice, declaratii de conformitate sau instructiuni, ne puteti contacta la [email protected].
Reviews (10) - Review moderation

Functioneaza direct cu NodeMcuESP8266 fara convertor logic
Functioneaza perfect
45782
Reperul e exact ca-n descriere. A functionat perfect. Foarte multumit de serviciul oferit.
Multumesc totul a fost OK.