

Product images are for informational purposes only and may vary slightly depending on the batch and supplier. Product specifications and prices may be subject to change without notice. We do our best to provide accurate and complete product specifications, but they may not be completely accurate. If you encounter any such situation, please let us know.
The product is intended for specialists and requires qualified and authorized personnel. The product does not include assembly/use instructions . Putting the product into operation by unqualified persons leads to the loss of the warranty according to the Terms and Conditions on the site.
The specified technical parameters (current, power, etc.) represent maximum allowable values under ideal operating conditions. For safe use and optimal lifespan, it is recommended to operate the product continuously at no more than 50% of the specified maximum values.
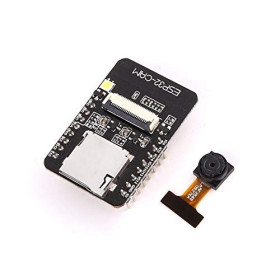
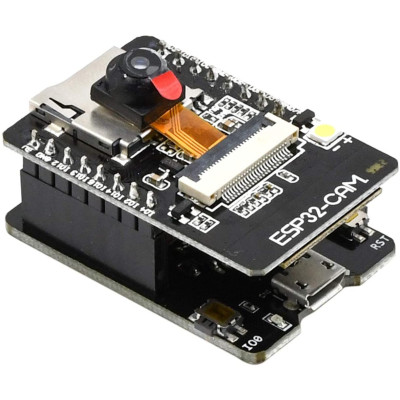
ESP32-CAM development board with CH340G, WiFi, Bluetooth, OV5640 5MP
Compact solution for artificial vision projects, video streaming and IoT, with an ESP32 dual-core processor up to 240MHz, WiFi 802.11 b g n and Bluetooth 4.2 LE connectivity for wireless control and transmission, a 5MP OV5640 camera for detailed images, 4MB PSRAM memory for efficient capture and processing, easy programming in Arduino IDE via CH340G with USB Type C.
Shipping by Wednesday 16 September

International fast shipping within EU. Free Shipping for orders above 100 EUR in most EU countries.

We ship from our stock within 24H

You earn points with every order, worth 5%.
The ESP32-CAM development board with the 5MP OV5640 camera module is a compact and high-performance solution for artificial vision projects, video streaming, and IoT. Compatible with Arduino IDE, as well as other popular platforms and development environments, the board integrates WiFi 802.11b/g/n and Bluetooth 4.2 LE connectivity, offering maximum flexibility in wireless projects.
The 32-bit dual-core LX6 processor, with frequencies up to 240MHz and computing power up to 600DMIPS, ensures high performance for complex applications. The integrated 520KB SRAM memory, supplemented by 4MB external PSRAM, allows efficient handling of data streams and high-resolution images.
The 5MP OV5640 camera provides high-resolution images with fine detail, making it an ideal choice for surveillance, facial recognition, or automated photography projects. The board supports JPEG, BMP, and grayscale image formats, image upload via WiFi, an external TF card up to 4GB, and several low-power modes (Deep-sleep, Modem-sleep, Light-sleep).
Notable features also include the integrated Hall Sensor and temperature sensor, support for UART, SPI, I2C, PWM, ADC, and DAC protocols, Smart Config/AirKiss technology, FOTA support, and operation in STA/AP/STA+AP modes.
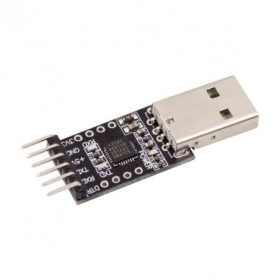
The kit includes the ESP32-CAM board with OV5640 camera and a USB-TTL serial converter with CH340G driver and Type-CB connector for programming and serial communication with the computer.
The board may be incompatible with the latest version of the CH340 driver (2023). Download the driver from the Download section.
Due to problems caused by the OV2640 camera, the option to replace it with the OV3660 camera was chosen. The method of use is the same.
Specifications:
Supply voltage: 5V (power pin)
Current consumption (Flash LED off): 180mA @ 5V
Current consumption (Flash LED on, maximum brightness): 310mA @ 5V
Current consumption (Deep-sleep): 6mA @ 5V min
Current consumption (Modem-sleep): 20mA @ 5V min
Current consumption (Light-sleep): 6.7mA @ 5V min
Number of pins: 16
I/O ports: 9
WiFi: 802.11b/g/n
Bluetooth: 4.2 LE
CPU frequency: 80 - 240MHz
CPU: Dual core 32-bit
Integrated memory: 520KB SRAM
External memory: 4MB PSRAM
Protocol support: UART/SPI/I2C/PWM/ADC/DAC
Included camera: Yes, OV5640, 5MP
WiFi image upload support: Yes
TF card support: Yes, up to 4GB
Low-power mode support: Yes (Deep-sleep, Modem-sleep, Light-sleep)
Integrated: LwIP and FreeRTOS
Operating modes support: STA/AP/STA+AP
Smart Config/AirKiss support: Yes
FOTA support: Yes
SPI Flash: 32Mbit
PSRAM: 4MBit
Camera connector: FPC
Image formats: JPEG, BMP, grayscale
ESP32 dimensions in mm: 42 x 27 x 12
Programmer: CH340G
Programmer connector: Type-C
Pinout:

Tutorial:
Use the Download button when uploading the code to the board.
*Depending on the batch, the programmer may or may not have a Download button. If it does not, program the board directly. If the Download button does not work, short GPIO0 to GND, power the board, upload the code, remove the short between the pins, and power it again. If you still cannot compile, make sure Flash Mode DIO is selected in Tools -> Flash Mode.

Adding the ESP32-CAM board in Arduino IDE:
To install the board in Arduino IDE, do the following: File -> Preferences. In Additional Boards Manager, enter the following URL: https://dl.espressif.com/dl/package_esp32_index.json
Then go to Tools->Board->Boards Manager, search for "esp32", and install ESP32 by ESPressif Systems
Uploading code through Arduino IDE:
Select the AI-Thinker ESP32-CAM board from Tools->Board->ESP32.
Select the CameraWebServer example from File->Examples->ESP32->Camera. This example will create a server accessible from the local network through the computer, where we will be able to view a live stream directly from the camera.
Prepare a Female-to-Female Dupont cable before clicking Upload.
Select the camera model "CAMERA_MODEL_AI_THINKER" according to the code below.
|
// Select camera model //#define CAMERA_MODEL_WROVER_KIT // Has PSRAM //#define CAMERA_MODEL_ESP_EYE // Has PSRAM //#define CAMERA_MODEL_M5STACK_PSRAM // Has PSRAM //#define CAMERA_MODEL_M5STACK_V2_PSRAM // M5Camera version B Has PSRAM //#define CAMERA_MODEL_M5STACK_WIDE // Has PSRAM //#define CAMERA_MODEL_M5STACK_ESP32CAM // No PSRAM #define CAMERA_MODEL_AI_THINKER // Has PSRAM //#define CAMERA_MODEL_TTGO_T_JOURNAL // No PSRAM |
Add SSID and Password:
|
const char* ssid = "Network Name" const char* password = "WiFi network password" |
Open the serial monitor, set the baud rate to 115200 according to the code, and wait for the module to connect to WiFi. The IP address and port for accessing the camera will be displayed in the Serial Monitor.

Stream viewing:
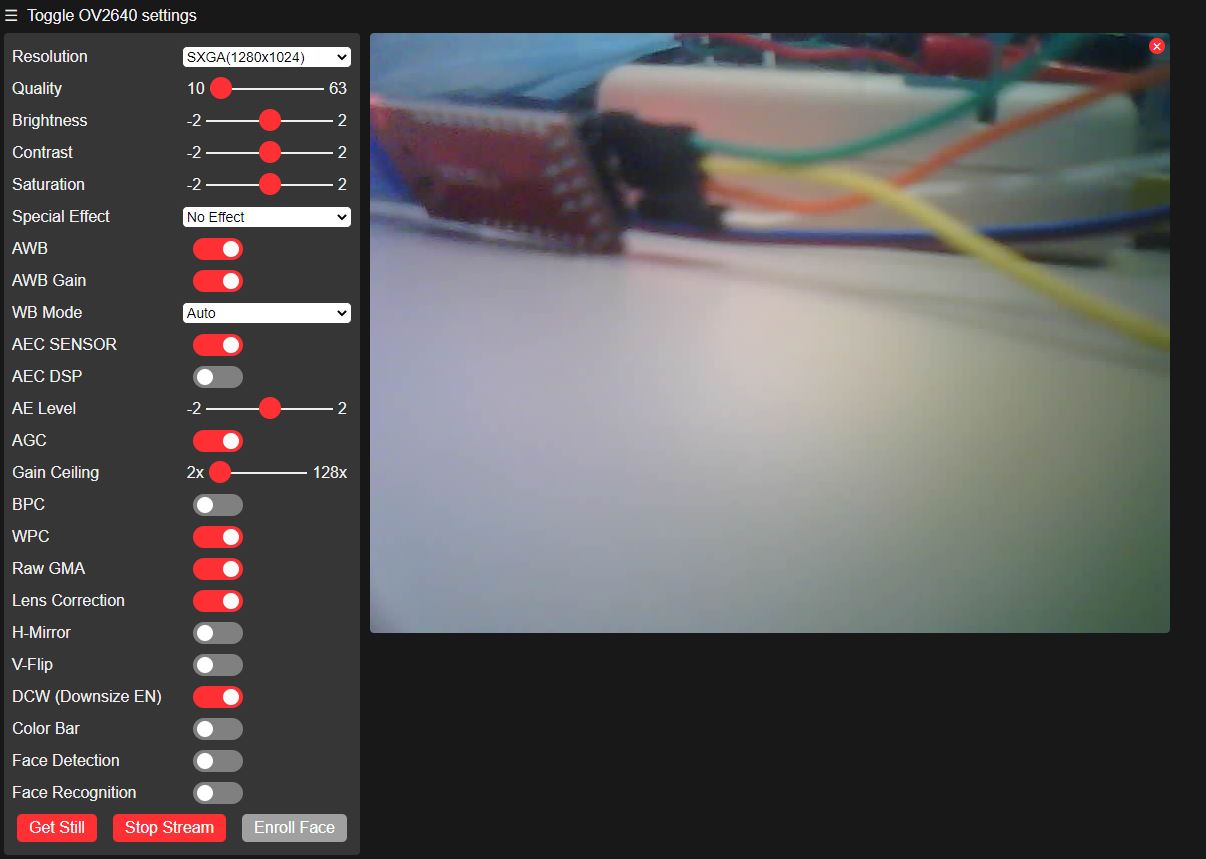
Open the browser and access the address shown in the Serial Monitor. In this case the address is "http://192.168.0.104/" followed by the Web Server port, in this case "80". The final address will look like this: "http://192.168.0.104:80".
Produs destinat utilizarii in proiecte electronice, automatizari, prototipare, educatie si cercetare.
Produsul trebuie utilizat numai conform specificatiilor tehnice mentionate in descriere si/sau in documentatia produsului.
Avertismente generale de siguranta:
Nu utilizati produsul la tensiuni, curenti sau temperaturi peste valorile specificate.
Montajul si conectarea trebuie realizate de persoane cu cunostinte tehnice minime in domeniul electric/electronic.
Evitati scurtcircuitele, inversarea polaritatii si conectarea gresita a alimentarii.
Nu lasati produsul alimentat nesupravegheat in timpul testelor.
Produsul nu este jucarie si nu este destinat copiilor.
Pentru modulele electronice, se recomanda utilizarea in carcase, panouri sau montaje protejate, dupa caz.
Identificare produs:
Denumirea produsului, codul/SKU-ul si caracteristicile tehnice sunt mentionate in pagina produsului si/sau pe eticheta ambalajului.
Producator / Importator / Distribuitor:
Sigmanortec S.R.L.
Calea Bucuresti nr. 9, Targu Jiu, Gorj, Romania
E-mail: [email protected]
Website: www.sigmanortec.ro
Persoana responsabila in UE:
Sigmanortec S.R.L.
Calea Bucuresti nr. 9, Targu Jiu, Gorj, Romania
E-mail: [email protected]
Documentatie si siguranta:
Pentru informatii suplimentare, fise tehnice, declaratii de conformitate sau instructiuni, ne puteti contacta la [email protected].
Reviews (9) - Review moderation

Placa de fericire funcționează :) doar ca camera are un fading alb permanent pe partea stânga (indiferent de setari sau alte chestii), si cip-ul camerei se încălzește FOARTE tare dupa vreo 5 secunde (nu stiu daca e normal asta dar totuși) :(
Produsul exact ca in descriere. Livrare rapida. Multumesc pentru bombonica!!!aa
Modul (nu chiar scump si) excelent pentru proiecte de filmare de durata/continua . Obiectivul se poate (cu multa blindete) desuruba . 3 ture de extensie focalizeaza rezonabil o suprafata de ~ 10x13mm la o distanta de sub ~ 2cm. Poate vor aparea in stoc si camere cu banda conectoare mai lunga .
Daca respecti pasii descrisi, functioneaza din prima. Nu mai este nevoie de fir pentru RST, ai pe placa! Personal amabil. multumesc!
Works as expected